Mastering Visual Contrast in Street Photography: A 6-Step Guide
Written on
Understanding Contrast in Visual Storytelling
Visual contrast serves as a vital element in storytelling through photography. It captures attention and highlights critical aspects of an image. Let’s explore the 6-Step Contrast Continuum Framework for Street Photography.
Step 1: Define the Core Elements of Your Photo Narrative
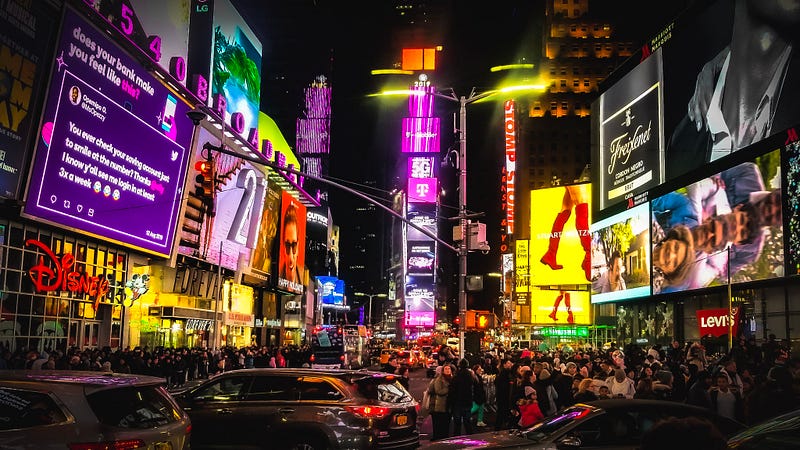
Begin by identifying the story you wish to convey and strategize how to incorporate contrast. What key characters or themes are present? Consider elements like individuals, objects, or abstract ideas. For instance, in a narrative centered on an urban environment, essential components might include skyscrapers, pedestrians, vehicles, and even the ambient noise of the city.

Step 2: Choose Which Elements to Highlight Dramatically
Identify the elements that need to carry emotional weight, propel the narrative, or embody the main theme of your story. In our urban example, you might choose to underscore the impressive buildings or the bustling crowds to convey the city’s vastness.
Step 3: Assign High-Contrast Values to Key Elements
Once you have pinpointed the focal elements, place them at the high-contrast end of your continuum. High-contrast features should stand out and evoke emotion through techniques such as:
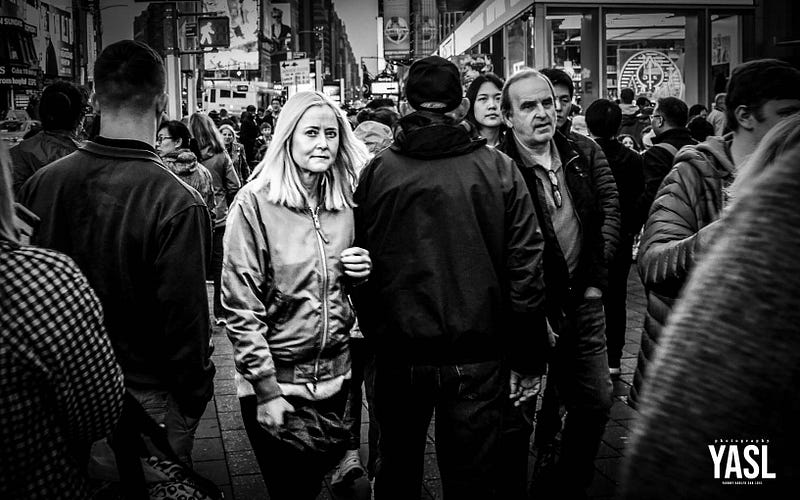
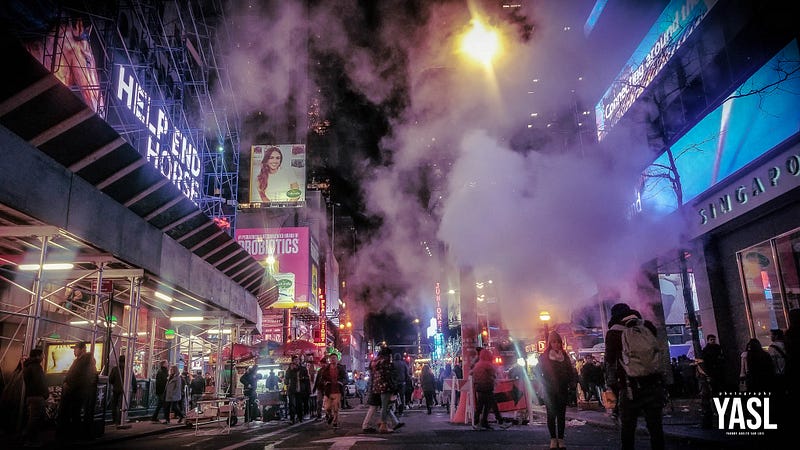
- Bright lights juxtaposed with deep shadows
- Vibrant colors against muted tones
- Sharp details contrasted with blurred backgrounds

Step 4: Identify Elements That Benefit from Subtlety
Not every aspect of your narrative requires a bold presence. Some elements thrive on subtlety, contributing tranquility or dreaminess to the composition. Examples include:
- Background features
- Transitional elements
- Important details revealed gradually
In our city narrative, this could encompass softly glowing streetlights at twilight or the distant hum of a crowd.

Step 5: Place Subtle Elements at the Low-Contrast End
Low-contrast elements enhance depth and complexity without overshadowing the main features. Achieve this through:
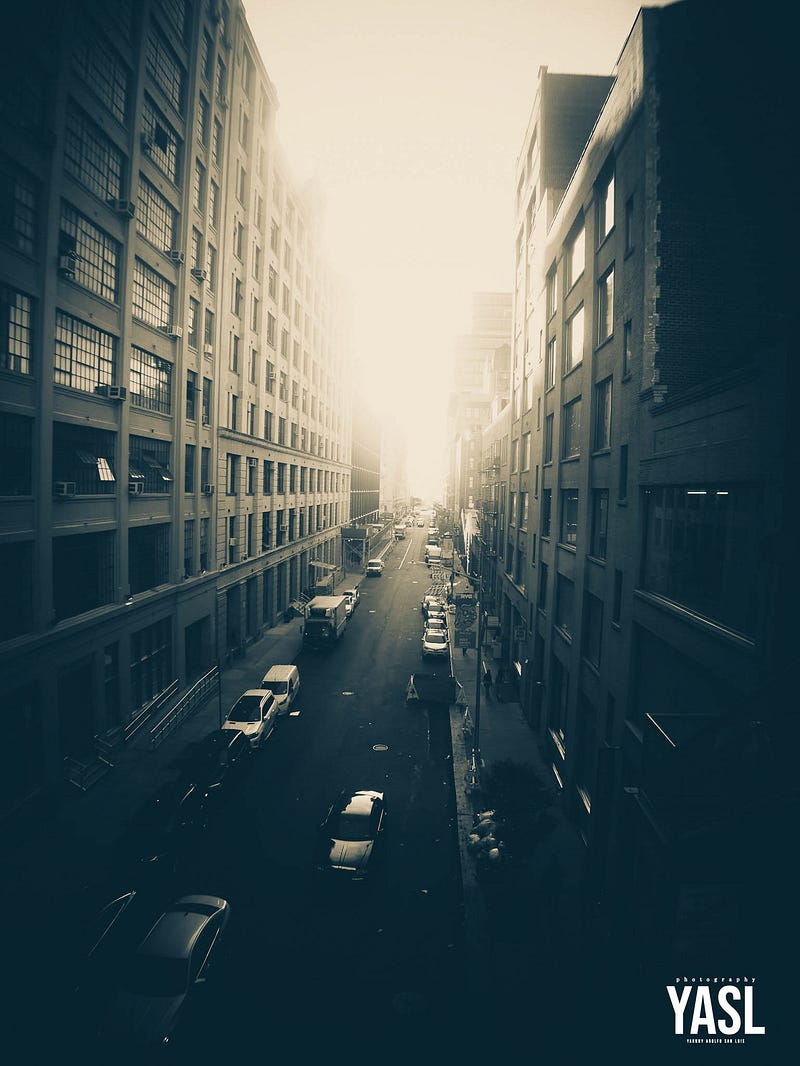
- Gentle lighting
- Muted color palettes
- Blurred visuals
Step 6: Plan and Edit with the Contrast Continuum in Mind
During the planning phase, ensure that high-contrast elements draw attention while low-contrast elements provide depth. In post-processing, adjust:
- Brightness
- Saturation
- Sharpness

Join us at Adventure Photography Chronicles for more tips and insights on capturing breathtaking photos! Let’s continue to share inspiration through our stories and images.
This video, titled "How to do high-contrast street photography the right way," provides valuable techniques and examples to enhance your street photography skills.
The video "Street Photography: High Contrast Scenes" delves into creating impactful high-contrast images, showcasing practical applications and tips.