Transitioning from macOS Catalina to Ubuntu 20.04 on a 2012 MacBook Air
Written on
Chapter 1: Introduction
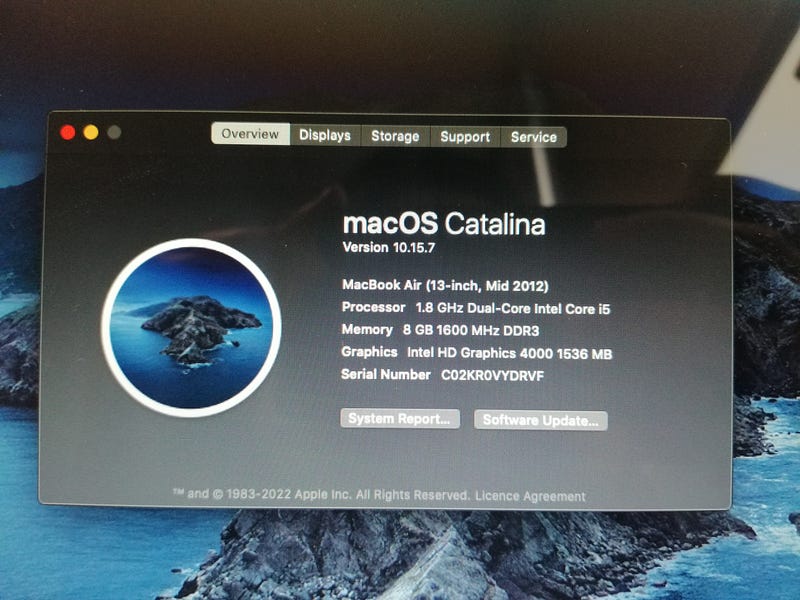
Recently, I purchased a used MacBook Air from 2012, seeking an affordable laptop for running Linux Ubuntu. I found that many budget options had inadequate specifications, such as only 4GB of RAM and Intel Celeron processors, all priced over 500 euros. When I spotted this MacBook Air on eBay, I didn’t hesitate to buy it. This machine offers 8GB of RAM, 128GB of storage, a second-generation i5 processor, and a solid build quality, along with a more comfortable (and backlit) keyboard.
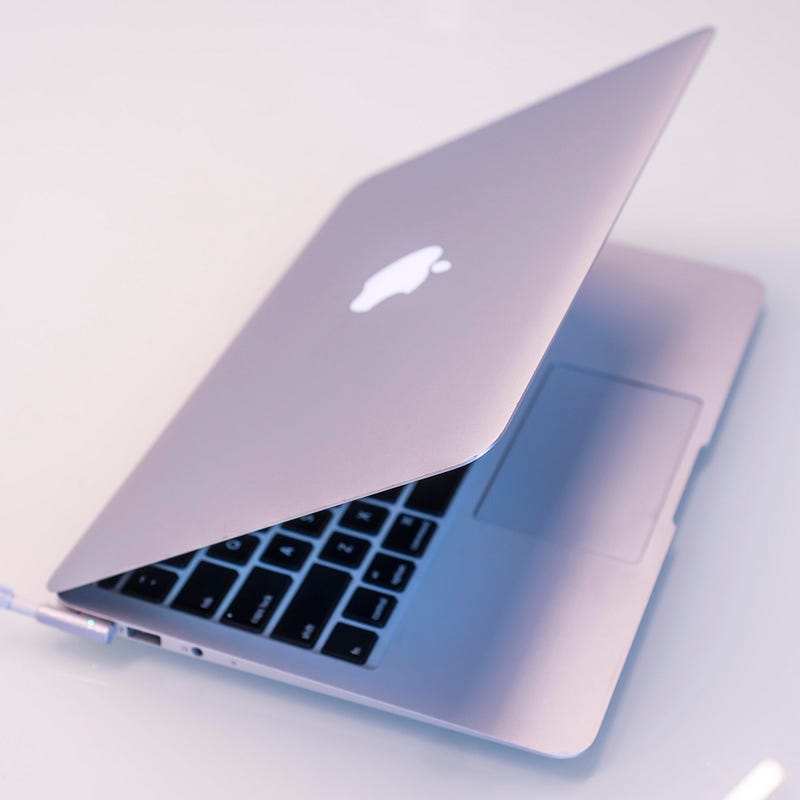
As I require Linux Ubuntu for my academic projects and considering that the 2012 MacBook Air no longer receives updates (the last being Catalina), I opted for a complete replacement of macOS with Ubuntu rather than setting up a dual boot, which I had done previously on my MacBook Pro.
Chapter 2: Ubuntu Installation Process
Installing Ubuntu on a Mac is straightforward since both macOS and Ubuntu are Unix-based, making the process simpler than on Windows or Chrome devices.
Download the ISO file
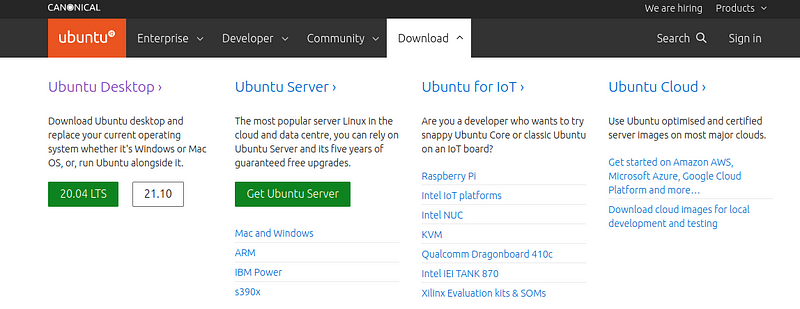
Head over to ubuntu.com and download the Ubuntu Desktop LTS version. LTS stands for Long-Term Support, which is the recommended version unless you’re an Ubuntu developer willing to handle potential bugs.
Create a bootable USB drive
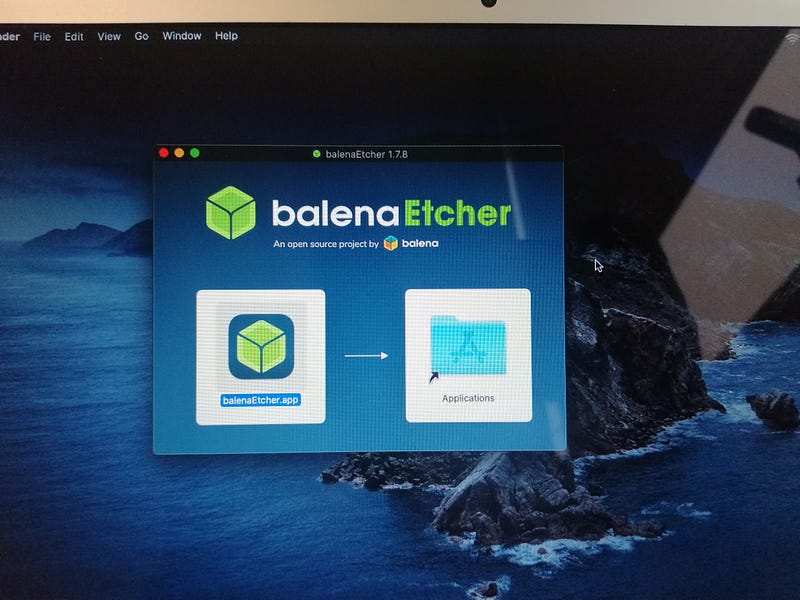
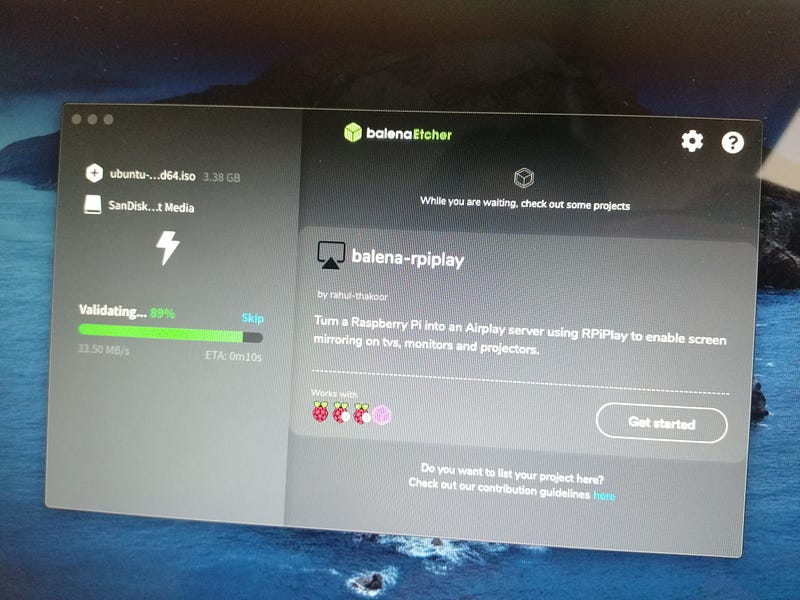
To create a bootable USB, use BalenaEtcher, which is free and compatible with Windows, macOS, and Linux. It’s easy to install and the interface guides you through the process of creating your bootable USB stick.
Backup your files
Since my laptop is new, I didn’t need to back up any files.
Say Goodbye to macOS
Take a moment to bid farewell to macOS. If you’re replacing it entirely, don’t hesitate to express your feelings—this is your last chance to see Catalina.
Power down the laptop
Turn off your computer and insert the bootable USB drive.
Start the computer with the "Option" key
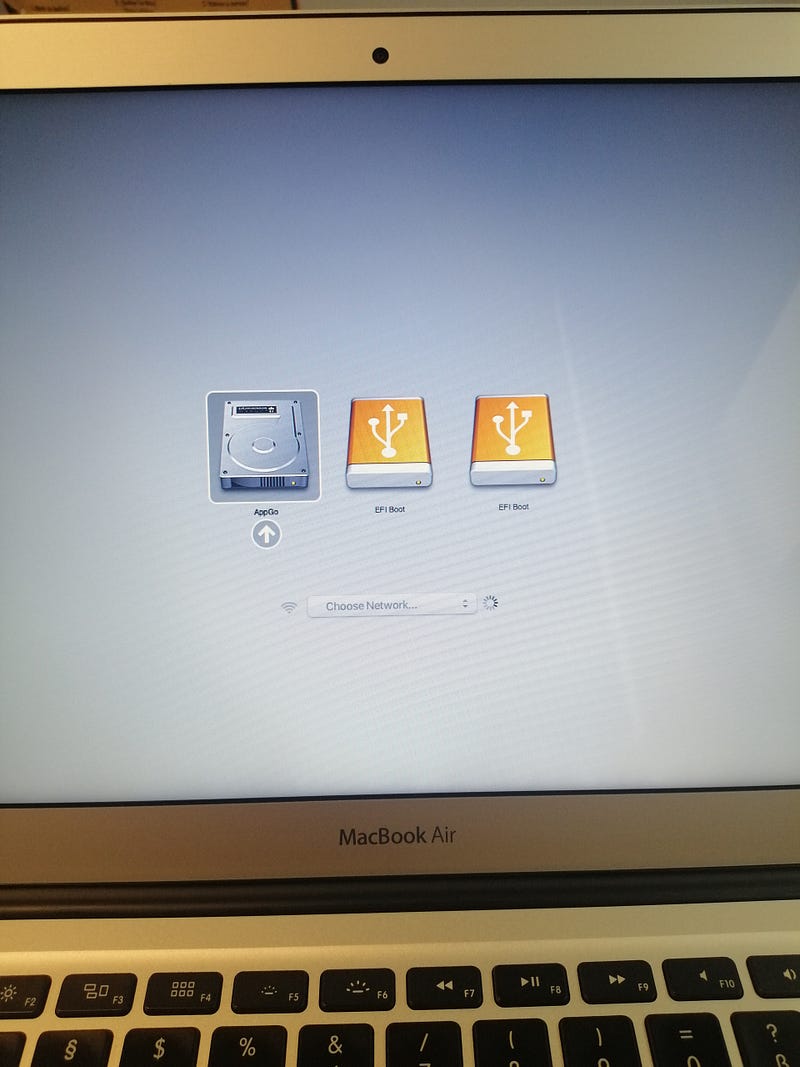
Turn on your Mac and immediately press the "Option" key. You will see the boot menu.
Choose the first EFI Boot option and press Enter.
Install Ubuntu
The installation screen will appear. Press Enter for the Ubuntu option and select "Install Ubuntu." You will receive a warning about replacing your OS and the importance of backing up your files.
Final setup steps
If you proceed, you can select standard installation, set your timezone, connect to Wi-Fi, configure keyboard options, and choose your language. All these settings can be modified later.
Update Ubuntu
After the installation, your new OS will prompt you to update. It’s crucial to do this to ensure you have the latest updates for both the OS and installed applications. This process may take longer than the installation itself.
Ubuntu is ready!
Your new operating system is all set! You can now explore the Ubuntu app repository or use the Terminal to install your favorite applications.
Thank you for reading! If you have any suggestions for improving this tutorial, feel free to share. Don’t forget to subscribe for updates on my future posts.
This video demonstrates how to revitalize a 12-year-old MacBook Pro with Ubuntu Linux, showcasing the installation process and performance enhancements.
In this video, learn how to set up modern Ubuntu on a Mid-2012 MacBook Air, including installation tips and configuration advice.